Improving Digital Microscope Accuracy with Calibration
When measuring with a microscope, it’s necessary to calibrate first. What is calibration? And why do you need it?
Digital microscopes are connected to a PC via a USB connection. In order to measure anything, first the PC needs to know the size of the screen you’re looking at. For that purpose, calibration is performed using the standard glass scale.

Actual Glass Scale
Project the glass scale on the PC, specify two points with the mouse, and enter the distance between them on the PC.
The length of the object displayed next on the PC screen is measured based on the distance you entered.
In other words, the purpose of calibration is to tell the PC, in advance, the length of the scale displayed on the screen. This provides a baseline or scale for measuring other things.
But, lots of errors can still happen, even during calibration!
So, what’s the key to improving dimensional measurement accuracy?
Calibrate in the center of the screen
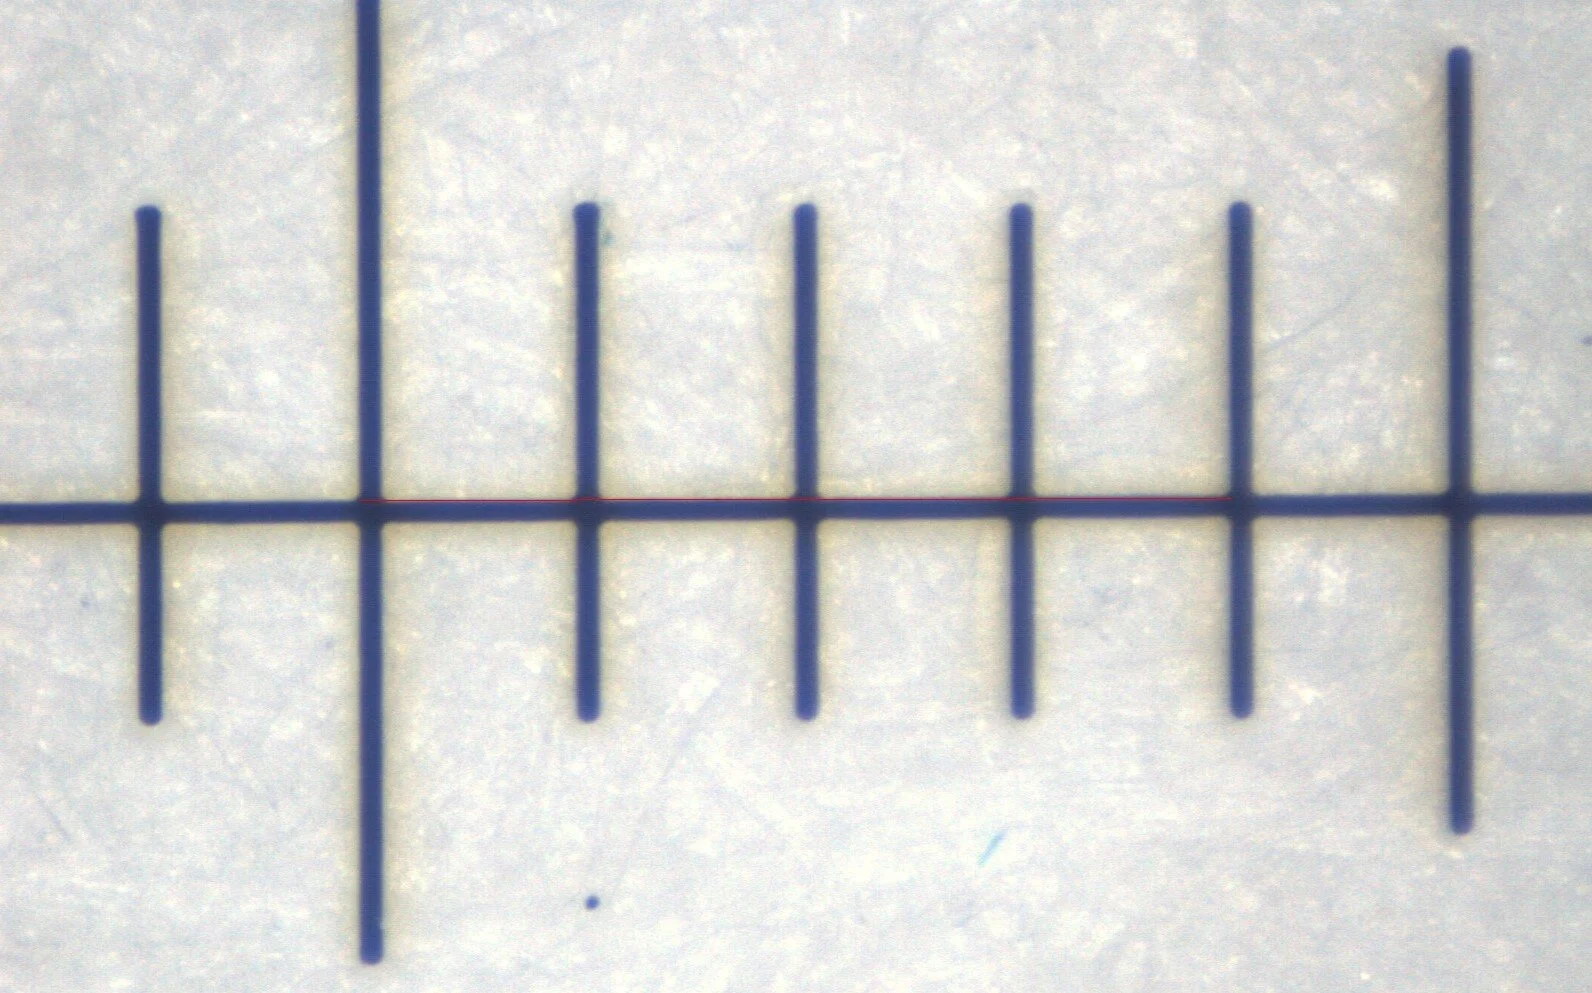
Calibration is usually performed using the standard glass scale (line width of 10 mm in 100 μm increments).
To remember the distance between two points on the glass scale, input them on the PC.
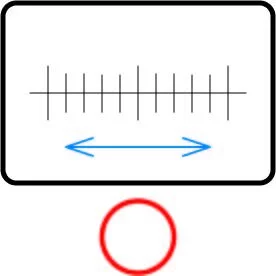
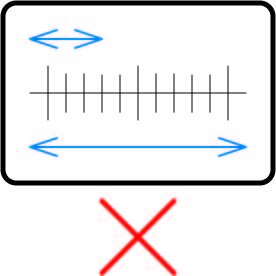
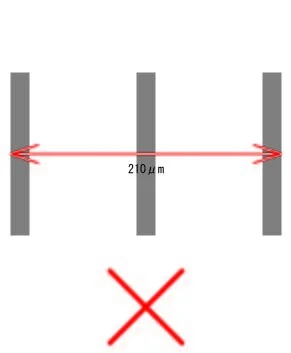
Since the lens becomes more distorted the farther it is from the center, using points closer to the center yields higher accuracy.
If you use the entire distance, or if you use only the end, it’s easy for errors to happen.
Decide on rules for raising and lowering the scope
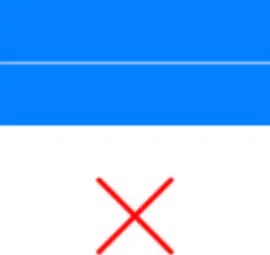
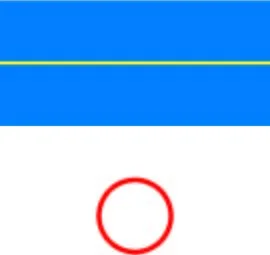
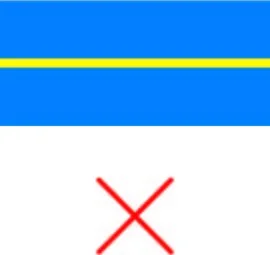
The lens has a depth of focus. The size of the image will be different between the position where the scope is lowered vertically and the focus is first, and the position where it is raised vertically and the focus is first focused. We need to decide whether it will be matched up or down.
If the focus is adjusted from the bottom when calibrating, the measurement target is also adjusted from the bottom to improve the accuracy.
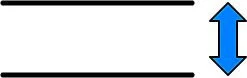
Image size is different between top and bottom
Use a small unit of calibration
Use a micron rather than a millimeter to be more precise.
Example: If 150 microns is set to millimeters, it will be 0.1 millimeters or 0.2 millimeters in the one-digit decimal display. This results in a loss of precision!
Select the correct points on the glass scale
The picture below is an image of a glass scale memory. One step is 100 μm. For example, when calibrating with a value of 200 μm, consider the thickness of the markings and perform the following to ensure correct calibration.
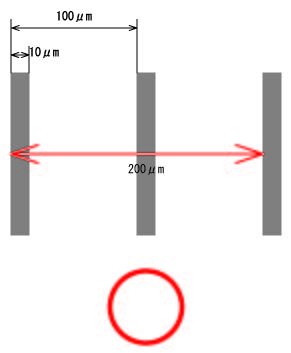
Inside to outside of scale line (outside to inside)

Inside to inside the scale line
Outside to outside of scale line
Use a measuring line that is thin and easy to see
When measuring the object, click the location you want to measure with the mouse and draw a measurement line. At that time, it is easier to align the position by drawing a line in a color that stands out against the background.
If the lines are too thick, it will be difficult to fit them.